If you’re using Windows 11 and suddenly can’t connect to your work or local server, you’re not alone. Many users have reported getting the error “connection to server is not supporting”, which prevents them from performing network-based tasks — such as accessing shared folders, applications, or Service Manager databases.
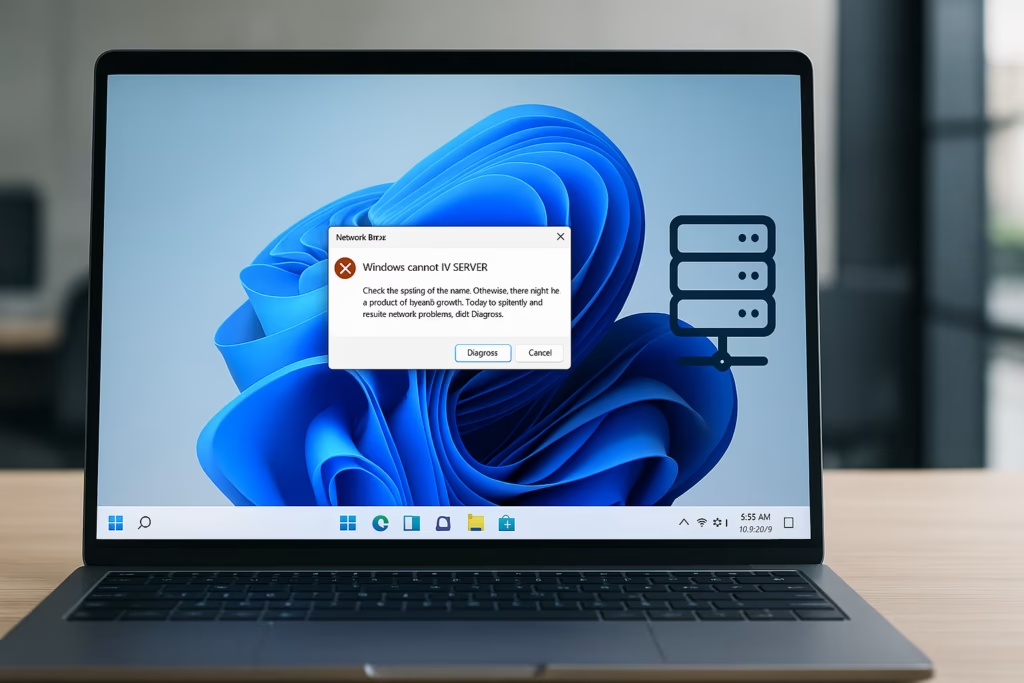
This issue usually occurs due to network misconfiguration, outdated credentials, firewall restrictions, or SMB protocol conflicts after a system update. Below is a complete step-by-step guide to fix it.
1. Check Network Connectivity
Before assuming it’s a Windows problem, confirm that your internet or LAN connection is working.
- Open any website or ping a known server:
ping google.com- If you’re on an office network, make sure you’re connected to your VPN or internal Wi-Fi.
- Try pinging your server:
ping <server_name>If you get “Request timed out”, your system cannot reach the server — check cables, router, or VPN.
2. Verify Server Address and Credentials
Incorrect or expired credentials often cause connection failures.
- Re-enter your server path (e.g.,
\\servername\folderorhttps://servername.com). - If it’s a mapped drive, remove and reconnect it:
- Open File Explorer → This PC.
- Right-click the mapped drive → Disconnect.
- Then select Map Network Drive → Use different credentials.
- Enter your latest username and password when prompted.
3. Enable Network Discovery and File Sharing
If file sharing is turned off, Windows will block local server connections.
- Open Control Panel → Network and Sharing Center.
- Select Change advanced sharing settings.
- Under Private network, enable:
- Turn on network discovery
- Turn on file and printer sharing
- Save changes and restart your PC.
4. Flush DNS and Reset IP Configuration
Corrupt DNS caches can break server communication.
Open Command Prompt (Admin) and run:
ipconfig /flushdns
netsh int ip reset
Restart your system and try connecting again.
5. Check Windows Firewall and Defender Settings
Sometimes Windows Defender Firewall blocks server access by default.
- Go to Settings → Privacy & Security → Windows Security → Firewall & network protection.
- Select your active network and turn off the firewall temporarily (for testing).
- If the connection starts working, go back and add your server as an allowed app under Allow an app through firewall.
6. Clear Old Windows Credentials
Outdated saved logins can prevent authentication with the server.
- Open Control Panel → Credential Manager.
- Under Windows Credentials, find any entries related to your server.
- Remove them, then try reconnecting — Windows will prompt you for new credentials.
7. Enable SMB Protocol (For Shared Drives)
If you’re accessing a network folder or shared resource, the SMB protocol must be enabled.
- Open Windows Features → Turn Windows features on or off.
- Enable:
- SMB 1.0/CIFS File Sharing Support
- SMB Direct
- Click OK, then restart your PC.
8. Refresh Group Policy (For Domain Users)
If your PC is part of a domain, restrictive policies may block server access.
Run this command in Command Prompt (Admin):
gpupdate /forceThen restart your computer to apply updated policies.
9. Reinstall or Update Network Drivers
Corrupted drivers can interfere with network communication.
- Press Win + X → Device Manager.
- Expand Network Adapters.
- Right-click your active adapter → Uninstall device.
- Restart your system — Windows will reinstall it automatically.
10. Reset Network Stack
If none of the above works, perform a complete reset:
netsh winsock reset
netsh int ip reset
ipconfig /release
ipconfig /renew
ipconfig /flushdns
Restart your PC and test the server connection again.
If your connection issue occurs inside Service Manager
If the issue occurs inside Microsoft System Center Service Manager, ensure that:
- The Service Manager server is online.
- You have active domain credentials with permission to connect.
- The SCSM Console version matches the server version.
- Try logging in from another PC — if it works, your local client configuration is likely corrupted.
Once your server connection is back:
- Re-enable your firewall if disabled.
- Back up network configuration using:
netsh dump > backup.txt - Keep Windows and network drivers updated to prevent recurrence.
Connection issues between Windows 11 and servers often come down to small network or configuration glitches. By resetting your network stack, enabling sharing features, and verifying credentials, most problems can be fixed without professional help.
Read More:
- Fix: Can’t Turn On Network Discovery in Windows 11? Here’s How
- Fix “Something Happened to Your PIN” Windows Sign-In Error
- Fix Azure Login Error AADSTS5000225: “Sorry, We’re Having Trouble Verifying Your Account”
- Fix Netflix Stuck at 540p – Play Netflix in High Resolution
- Fix: Installation Failed in the SAFE_OS Phase Error (0xC1900101)
- Fix: Intel Extension 2.1.10105.19 update keeps reinstalling
- How to Fix Windows 11 25H2 Search Not Working After Update
- Fix: Enter Old PC Name in Windows Backup During File Transfer
If you’re using System Center Service Manager, ensure version compatibility and correct domain permissions. Once your connection is restored, keep your system updated and back up network settings regularly to avoid future interruptions.