
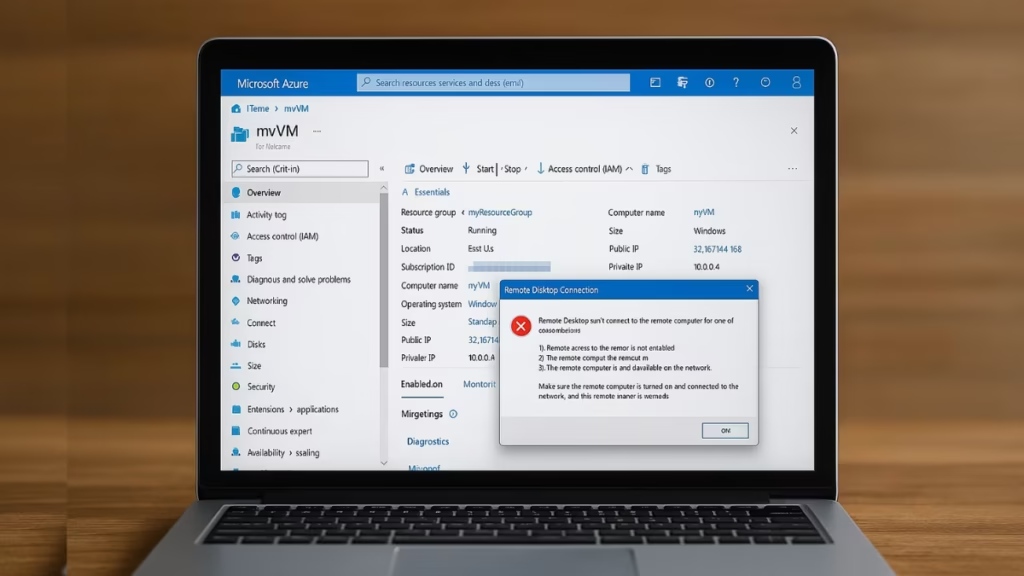
When you replace a Basic SKU Public IP on your Azure Virtual Machine with a Standard SKU Public IP, your VM might suddenly become unreachable via RDP, and your hosted website may stop responding — even if your DNS records are updated correctly.This issue is common during Azure’s retirement of Basic SKUs. Here’s a full troubleshooting and fix guide to restore your VM’s connectivity safely.
Why This Happens
The root cause lies in the fundamental difference between Basic and Standard Public IP SKUs:
| Feature | Basic SKU | Standard SKU |
|---|---|---|
| Default security | Open to all inbound traffic | Secure by default (all inbound traffic blocked) |
| NSG association | Optional | Mandatory for inbound access |
| Supported with Load Balancer | Basic LB only | Standard LB only |
| Public IP allocation | Dynamic or Static | Static only |
After migration, Azure automatically enforces stricter inbound security under Standard SKU. So, if you didn’t update your Network Security Group (NSG) or re-associate your new IP properly, inbound RDP (3389) or web traffic (80/443) will fail.
How to Fix Azure VM Not Accessible After Switching to Standard SKU Public IP
Follow these steps carefully to restore RDP and website access to your VM:
Step 1: Verify Public IP Association
- Go to Azure Portal → Virtual Machines → Networking tab.
- Under Network Interface → IP configurations, confirm:
- The Public IP address is of Standard SKU.
- It is associated with the correct NIC.
- If the IP shows unassociated, re-attach the new Standard IP manually.
Step 2: Check Network Security Group (NSG) Rules
Standard IPs block all inbound traffic by default.
You need to explicitly open RDP and HTTP/HTTPS.
- Navigate to Network Security Group attached to your NIC or Subnet.
- Add these inbound rules:
| Name | Port | Protocol | Action |
|---|---|---|---|
| Allow-RDP | 3389 | TCP | Allow |
| Allow-HTTP | 80 | TCP | Allow |
| Allow-HTTPS | 443 | TCP | Allow |
- Set Priority < 1000 (so the allow rules override any deny rules).
- Save and recheck connectivity.
Step 3: Confirm Effective Security Rules
To verify that Azure is applying your NSG correctly:
- Go to VM → Networking → Check effective security rules.
- Confirm that ports 3389 and 80/443 appear as Allow.
If they still show as Deny, the NSG may be attached at the wrong level (Subnet vs. NIC). Move it to the correct one.
Step 4: Upgrade the Public IP Correctly (if migration failed)
If your VM still has a Basic SKU IP or the change didn’t propagate correctly, re-do the upgrade safely:
- Go to Public IP Address → Configuration.
- Ensure the allocation method is Static.
- Dissociate the IP from the NIC.
- Click Change SKU → Standard, or create a new Standard SKU IP.
- Reassociate the Standard IP with the VM’s NIC.
Tip: If you manage production workloads, perform this during off-peak hours to avoid downtime.
Step 5: Reconfigure DNS (if needed)
If you’re using a custom domain (e.g., via GoDaddy):
- Go to your DNS provider (GoDaddy, Cloudflare, etc.).
- Update the A record to the new public IP address.
- Save changes and allow up to 10–15 minutes for propagation.
- Test with:
nslookup yourdomain.comConfirm the new IP is shown.
Step 6: Use Network Watcher to Verify Flow
Azure’s Network Watcher helps identify blocked ports.
- Go to Network Watcher → IP Flow Verify.
- Source IP: your public IP (or any test machine).
- Destination: VM’s private IP.
- Port: 3389 or 80.
- If “Blocked by NSG” appears → fix NSG or firewall.
Step 7: Test Access Internally
If RDP still fails:
- Use Azure Serial Console or Azure Bastion to access the VM internally.
- Check:
- Firewall on VM isn’t blocking inbound 3389.
netstat -an | find "3389"shows the port is listening.- Service
TermService(Remote Desktop) is running.
Step 8: Validate and Save the Setup
Once the VM is reachable:
- Restart the VM once for configuration persistence.
- Take a snapshot or backup for safety.
- Document your IP and NSG changes for future reference.
Optional: Azure CLI Commands
If you prefer using CLI instead of the Portal:
# Check current IP configuration
az network nic ip-config show --nic-name MyVMNIC --resource-group MyResourceGroup --name ipconfig1

# Associate new Standard IP
az network nic ip-config update \
  --resource-group MyResourceGroup \
  --nic-name MyVMNIC \
  --name ipconfig1 \
  --public-ip-address MyNewStandardIP
Then verify RDP and HTTP connectivity using:
az network watcher test-connectivity --source-resource MyVM --protocol Tcp --port 3389After switching from a Basic to a Standard SKU public IP, Azure enforces tighter security. The VM becomes unreachable until you explicitly open ports in NSG and confirm the IP re-association.
By following the above steps, your RDP and web traffic should be fully restored.
![ServerFarmCreationNotAllowed Azure Fix: Unable to Create App Service Plan [Complete Guide]](https://winfix.fdaytalk.com/wp-content/uploads/2025/10/frf45-2025-10-08T141748.432-150x150.avif)