
If you’re restoring files or a full system backup on a new Windows PC, you might see a message that says: “Enter the name of the computer that contains the backup.” This step can be confusing, especially if you’re not sure where or how to enter your old PC name. Let’s break it down step by step.
What the “Old PC Name” Means
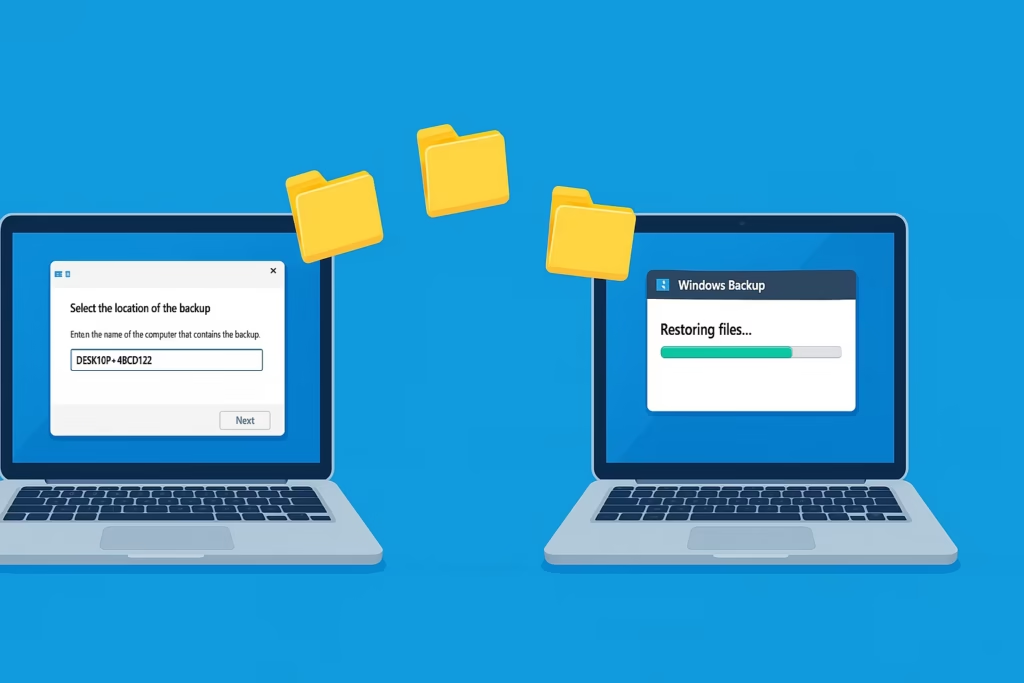
When Windows Backup or Windows Easy Transfer asks for your old PC name, it isn’t asking you to log into your previous computer. Instead, it’s looking for the folder name that identifies your old system’s backup — the one stored on your external drive or network.
Windows organizes backups in this structure:
<DriveLetter>:\WindowsImageBackup\<OldComputerName>\So, if your old computer was named DESKTOP-ABCD123, that exact name helps Windows locate the backup folder on your drive.
Step 1: Find the Old Computer Name
If you still have access to your old PC:
- Press Windows + R, type
sysdm.cpl, and press Enter. - In the System Properties window, select the Computer Name tab.
- Under Full computer name, note the name (for example,
DESKTOP-ABCD123).
If you no longer have access to your old PC, you can skip this step — the name is usually already part of the backup folder.
Step 2: Connect Your Backup Drive
Plug in your external hard drive or connect to the network location where your backup was stored.
Look for this folder path:
E:\WindowsImageBackup\OLD-PC-NAME\If it’s there, you’re good to go. Windows Backup will automatically detect it when restoring.
Step 3: Enter the Name (Only If Prompted)
When using “Select another backup to restore files from” in the recovery wizard:
- If Windows can’t find your backup automatically, it might ask for the computer name.
- Enter it in this format:
\\OLD-PC-NAMEor the full path if stored on a network:
\\OLD-PC-NAME\BackupIf the backup is on a local or external drive, you usually don’t have to type it manually — just ensure the folder structure matches the example in Step 2.
Step 4: Rename the Folder (If It’s Not Detected)
If Windows doesn’t detect your backup even after connecting the drive:
- Open your backup drive.
- Navigate to the folder named
WindowsImageBackup. - Inside, check the subfolder name — if it doesn’t match your old computer name, rename it to the correct one.
- Restart the restore process, and Windows should now recognize it.
Read More:
- Fix Windows 11 Printer Driver Unavailable Error
- Fix Windows VPN Client Never Connects in First Shot (L2TP/IPsec MFA Issue on Windows 10/11)
- How to Fix Windows 11 Update Error 0x800f0983 (KB5066835 Installation Failed)
- Microsoft Store Not Downloading or Installing Apps? 11 Proven Fixes for Windows 10/11
- How to Fix Windows 10 Commercial Device Error and Missing ESU Enroll Option
- How to Fix MSI Raider GE78 HX Scratching Noise and Freezing Issues in Windows 11
If you’re restoring across different Windows versions (for example, from Windows 10 to Windows 11), always:
- Run the restore wizard as Administrator.
- Make sure your external drive uses NTFS format.
- Temporarily disable antivirus that might block backup file access.

