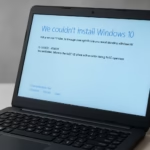
If your Windows 11 PC keeps asking you to restart to “finish installing” the Intel – Extension – 2.1.10105.19 update every day, you’re not alone. Many users have reported that Windows Update installs it successfully, yet it keeps reappearing in update history and prompting for another restart.
Why the Intel – Extension 2.1.10105.19 Update Keeps Installing
This issue usually occurs when:
- The Intel driver isn’t fully compatible with your specific hardware.
- Windows Update detects a mismatch between versions.
- Cached update data causes Windows to reinstall the same update repeatedly.
- The Intel Extension driver fails to register correctly after reboot.
You might notice this loop began after a recent Windows Update or driver rollout from Intel.
Fix 1: Hide the Faulty Update
If the driver keeps reappearing, stop Windows from reinstalling it.
- Download Microsoft’s official tool: wushowhide.diagcab
- Run the tool and select “Hide updates.”
- Wait for it to list available updates.
- Find Intel – Extension – 2.1.10105.19, check it, and click Next.
This will hide the update so Windows Update won’t reinstall it again.
Tip: If it doesn’t appear in the list, proceed with Fix 2 below.
Fix 2: Clear Windows Update Cache
Sometimes, the update loop is caused by corrupted cache data. Clearing it forces Windows to recheck the system state.
- Open Command Prompt as Administrator.
- Stop update services:
net stop wuauserv
net stop bits- Delete the update cache:
del /s /q C:\Windows\SoftwareDistribution\Download\*- Restart services:
net start wuauserv
net start bits- Reboot your PC.
Now check Windows Update again — the Intel driver should no longer reappear.
Fix 3: Manually Install the Correct Intel Driver
To ensure full compatibility, install the right version manually.
- Open Device Manager → System Devices → Intel Extension.
- Right-click → Properties → Details → Hardware IDs.
- Copy the hardware ID and search for the correct driver on:
- Your PC or motherboard manufacturer’s support site, or
- The Intel Download Center.
- Download and install the latest matching driver manually.
- Restart your PC and check Windows Update again — the duplicate prompt should stop.
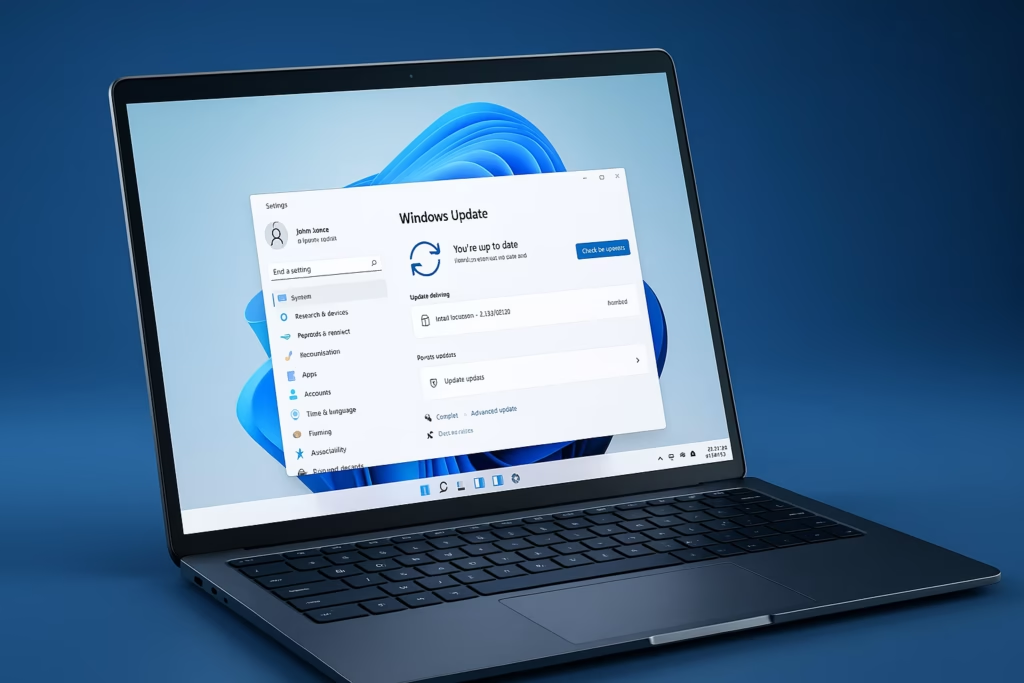
Fix 4: Run Windows Update Troubleshooter
Windows can automatically detect and fix update loops.
- Go to Settings → System → Troubleshoot → Other troubleshooters.
- Run the Windows Update Troubleshooter.
- Apply the suggested fixes and restart your system.
This issue started appearing in late October to early November 2025, so it may be an Intel-signed update that’s incorrectly pushed to some systems. Microsoft and Intel typically patch such issues within a few days.
Read More:
- How to Fix Windows 11 25H2 Search Not Working After Update
- Fix: Enter Old PC Name in Windows Backup During File Transfer
- Fix Windows 11 Printer Driver Unavailable Error
- Fix Windows VPN Client Never Connects in First Shot (L2TP/IPsec MFA Issue on Windows 10/11)
- How to Fix Windows 11 Update Error 0x800f0983 (KB5066835 Installation Failed)
- Microsoft Store Not Downloading or Installing Apps? 11 Proven Fixes for Windows 10/11
If the update doesn’t affect performance, you can safely ignore it for now — it will vanish once Microsoft fixes the package.
Always get Intel drivers directly from your OEM (Dell, HP, Lenovo, etc.) or Intel’s website instead of Windows Update. OEM packages are tested for compatibility and prevent loops like this.