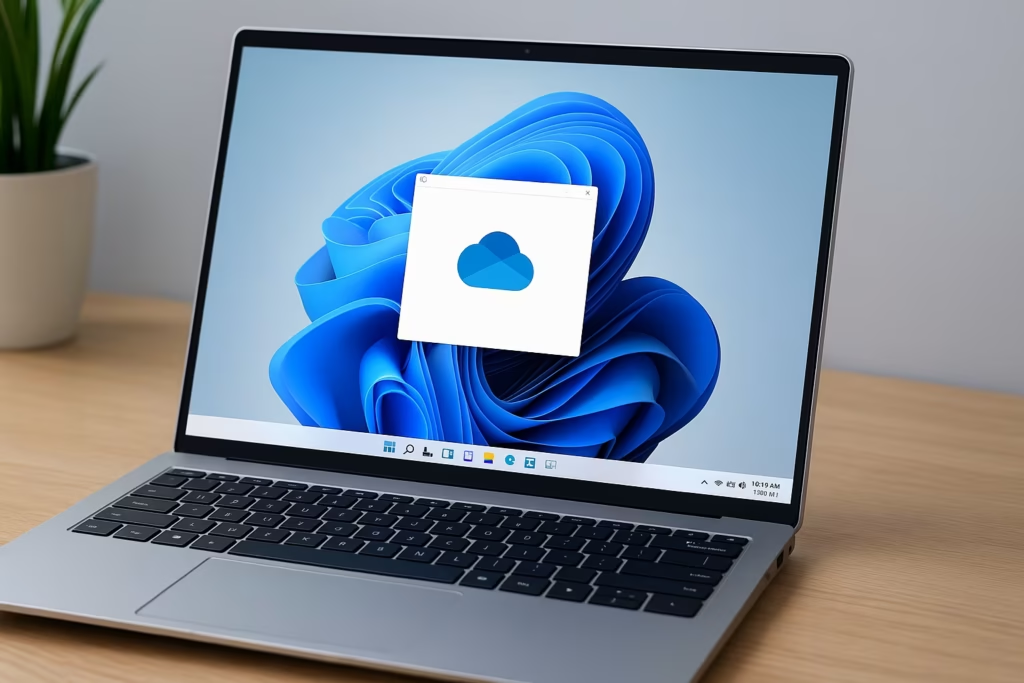
If OneDrive stops responding or you can’t open the synced folder, reinstalling the OneDrive app can usually fix it. However, reinstalling isn’t as simple as running the setup file again — you must first remove all leftover files. Here’s a step-by-step guide to completely refresh your OneDrive installation on Windows 11.
Step 1: Uninstall OneDrive Completely
Start by removing the existing installation:
- Press Windows + R, type
appwiz.cpl, and hit Enter. - In the list of installed apps, find Microsoft OneDrive, right-click it, and select Uninstall.
- Alternatively, open Settings → Apps → Installed Apps, select Microsoft OneDrive, and uninstall it from there.
- You can also uninstall it via Command Prompt (Run as Administrator):
%systemroot%\System32\OneDriveSetup.exe /uninstallor use Winget:
winget uninstall Microsoft.OneDriveThis ensures that the core application files are removed from the system.
Step 2: Delete All Leftover Files
Even after uninstalling, OneDrive’s configuration and cache files may remain. To avoid conflicts during reinstallation, delete them manually:
- Press Windows + R, type the paths below one by one, and delete the entire folders:
C:\Program Files\Microsoft OneDrive
C:\Users\YourUsername\AppData\Local\Microsoft\OneDrive
C:\Users\YourUsername\AppData\Roaming\Microsoft\OneDrive- Press Shift + Delete to permanently remove the files.
- Restart your PC to clear the cache and reset related background services.
Step 3: Download and Install OneDrive
Now that all old files are gone, install a fresh copy of OneDrive:
- Visit the official Microsoft OneDrive download page:
https://www.microsoft.com/en-us/microsoft-365/onedrive/download - Click Download to get the latest
OneDriveSetup.exe. - Right-click the file and select Run as administrator.
- Follow the on-screen steps to complete installation.
Step 4: Reconnect and Set Up
Once installation finishes:
- Open OneDrive from the Start menu or system tray.
- Sign in with your Microsoft account.
- Select the folder location where you want to sync your files.
- Choose which folders you want to keep offline and click Next to finish setup.
Step 5: Use Microsoft Support and Recovery Assistant (Optional)
If you still face setup or syncing issues:
- Download and run the Microsoft Support and Recovery Assistant:
https://aka.ms/SaRA-OneDrive - The tool automatically scans for OneDrive problems and repairs any configuration or registry errors that block installation.
Advanced Fix (Only if Setup Still Fails)
If the setup fails even after cleanup, you can force-remove residual app packages using PowerShell:
Get-AppxPackage *OneDrive* | Remove-AppxPackageThen restart your PC and reinstall using the steps above.
Read More:
- How to Recover BitLocker Key After BIOS update
- How to Restrict Domain Logins to Windows 11 24H2 or Higher
- How to Fix “Connection to Server Not Supporting” in Windows 11
- Fix: Can’t Turn On Network Discovery in Windows 11? Here’s How
- Fix “Something Happened to Your PIN” Windows Sign-In Error
- Fix Azure Login Error AADSTS5000225: “Sorry, We’re Having Trouble Verifying Your Account”