If your Windows 11 PC can’t see other devices on the same Wi-Fi network — like another computer, printer, or NAS — the Network Discovery feature might be turned off. This guide explains how to turn on Network Discovery, what to do if it doesn’t stay enabled, and how to fix common issues that stop it from working.
What Is Network Discovery?
Network Discovery is a built-in Windows feature that lets your PC find other devices on a local network and lets them see your computer too. It’s useful when you’re trying to:
- Share files between PCs
- Connect to a shared printer or NAS
- Access network drives or shared folders
Windows automatically turns this off on public Wi-Fi networks for security reasons, but you can safely enable it on a Private home or office network.
How to Turn On Network Discovery in Windows 11
Follow these simple steps to enable it manually:
- Open Settings
Press Windows + I to open the Settings app. - Go to Network & Internet
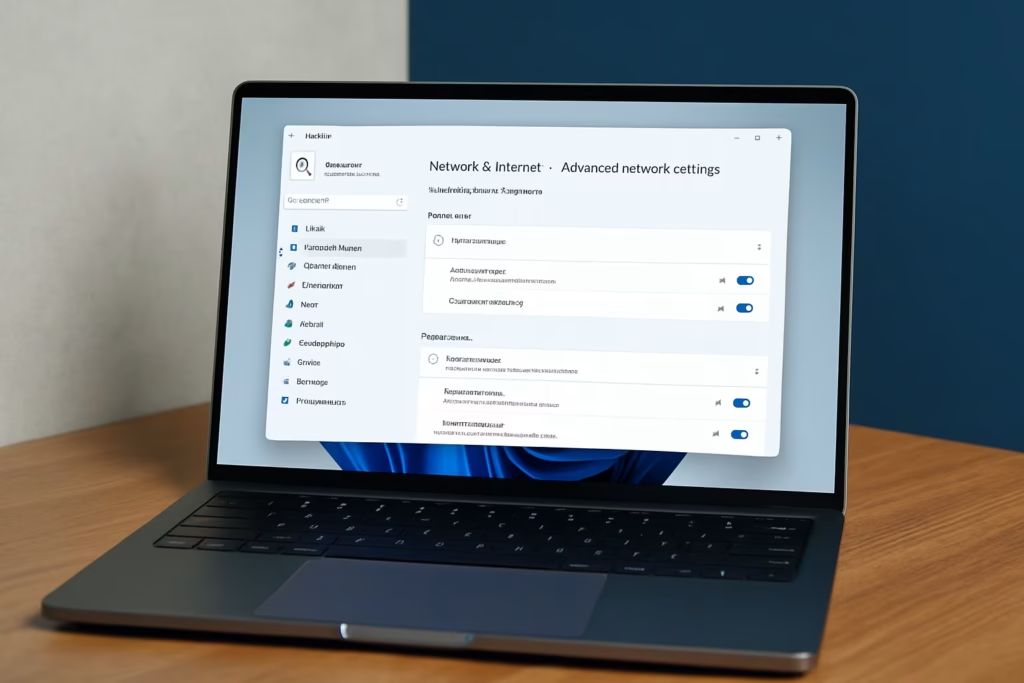
In the left panel, click Network & Internet. - Open Advanced Network Settings
Scroll down and select Advanced network settings. - Choose Advanced Sharing Settings
Under “More settings,” click Advanced sharing settings. - Enable Network Discovery
- Expand the Private network section.
- Turn Network discovery ON.
- Also enable File and printer sharing (optional but recommended).
- Save and Restart
Close Settings and restart your PC to apply changes.
Pro Tip: If you set your Wi-Fi or Ethernet connection type to Private, Windows will often enable Network Discovery automatically.
Go to Settings → Network & Internet → Wi-Fi (or Ethernet) → under Network profile type, select Private.
This is the simplest way to make your PC visible to other devices on your home network.
If Network Discovery Still Doesn’t Work
Sometimes, even after turning it on, your PC may still not detect other devices. Here are several fixes to get it working properly:
1. Check Your Network Type
Network Discovery only works on Private networks.
To check:
- Go to Settings → Network & Internet → Wi-Fi (or Ethernet)
- Select your connected network and ensure it’s set to Private.
If it’s marked as Public, switch it to Private and re-enable Network Discovery.
2. Restart Required Windows Services
Several background services manage device discovery. If any are stopped, it won’t work.
Open the Run dialog (Windows + R) → type services.msc → press Enter.
Make sure the following are Running and set to Automatic:
| Service Name | Startup Type | Status |
|---|---|---|
| Function Discovery Provider Host | Automatic | Running |
| Function Discovery Resource Publication | Automatic | Running |
| SSDP Discovery | Automatic | Running |
| UPnP Device Host | Automatic | Running |
Right-click each one → choose Properties → set Startup Type to Automatic → click Start → then OK.
3. Allow Network Discovery in Firewall
Sometimes, the Windows Defender Firewall blocks discovery traffic.
- Open Control Panel → System and Security → Windows Defender Firewall
- Click Allow an app or feature through Windows Defender Firewall
- Ensure Network Discovery is checked for both Private and Public networks.
- Click OK and restart your PC.
4. Ensure File Sharing Is Enabled
Open Advanced sharing settings again and verify that File and Printer Sharing is enabled under your Private profile.
This allows other PCs to connect to shared folders or printers.
5. Check for Outdated Drivers or Windows Updates
An outdated network driver can also interfere with network visibility.
- Press Windows + X → Device Manager → Network adapters
- Right-click your network adapter → choose Update driver.
- Or run Windows Update from Settings to ensure your system is current.
6. Use Command Prompt to Reset Network Settings
If nothing else works, reset the networking components:
Open Command Prompt (Admin) and run these commands one by one:
netsh int ip reset
netsh winsock reset
ipconfig /flushdns
Then restart your PC.
Verify Network Discovery Status and Antivirus Settings
Even after following all steps, it’s worth confirming if the feature is actually active:
- Go to Control Panel → Network and Sharing Center → Advanced sharing settings
- Check that Turn on network discovery is selected under your Private profile.
Also, note that some antivirus or third-party firewalls (like Norton, Avast, or McAfee) can block device discovery even if Windows Firewall allows it.
If discovery still fails, try temporarily disabling the third-party firewall or adding an exception for local network traffic.
Recommended: Turn Off Discovery on Public Networks
While Network Discovery is safe on trusted Wi-Fi, it’s best to disable it on public networks (airports, cafés, etc.) to avoid exposing your PC to strangers.
Read More:
- Fix “Something Happened to Your PIN” Windows Sign-In Error
- Fix Azure Login Error AADSTS5000225: “Sorry, We’re Having Trouble Verifying Your Account”
- Fix Netflix Stuck at 540p – Play Netflix in High Resolution
- Fix: Installation Failed in the SAFE_OS Phase Error (0xC1900101)
- Fix: Intel Extension 2.1.10105.19 update keeps reinstalling
- How to Fix Windows 11 25H2 Search Not Working After Update
- Fix: Enter Old PC Name in Windows Backup During File Transfer
- Fix Windows 11 Printer Driver Unavailable Error
Enabling Network Discovery helps Windows 11 detect other devices and share files seamlessly. If it doesn’t turn on or keeps turning off, checking your network profile, services, and firewall permissions usually fixes the issue.
And for extra reliability, confirm your Private network setting and verify antivirus permissions.
For more Windows 11 troubleshooting guides like this, visit our Windows Fix section on Fdaytalk.