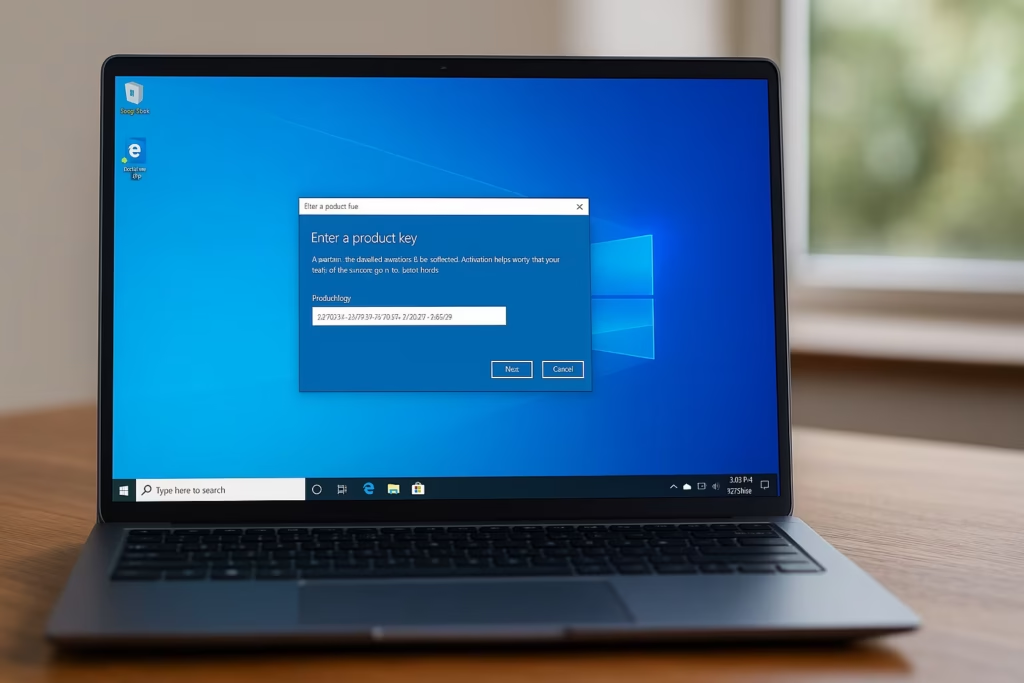
If you’re seeing Microsoft’s new Windows 10 ESU requirement and wondering how to install or activate it, this guide will walk you through every step. ESU, or Extended Security Updates, ensures your Windows 10 device continues receiving vital security patches even after end of support.

What Is Windows 10 ESU?
Windows 10 ESU (Extended Security Updates) is a paid service from Microsoft that provides critical and important security updates for users who still need to run Windows 10 after its end of life. It’s designed primarily for business and education users running Enterprise or Education editions.
If you’re on Windows 10 Home or Pro, ESU won’t install unless you upgrade to one of the eligible editions.
Step 1: Check If Your Device Qualifies
Before trying to install ESU, confirm that your version of Windows 10 is eligible.
To check your edition:
- Press Windows + R
- Type
winverand press Enter - Look for your Windows edition:
- Eligible: Windows 10 Enterprise or Windows 10 Education
- Not eligible: Windows 10 Home or Pro
If you’re not using an eligible edition, contact your IT admin or Microsoft partner to upgrade.
Step 2: Obtain a Valid ESU License
To install ESU, you’ll need a genuine license key.
You can get this key through:
- Microsoft Volume Licensing Service Center (VLSC)
- Cloud Solution Provider (CSP)
- Microsoft 365 Business subscription (for supported plans)
If you’re part of an organization, your IT admin or Microsoft account manager should provide the activation key.
Step 3: Install and Activate the ESU Key
Once you’ve received your ESU key, you can activate it using the Command Prompt.
Steps to activate ESU:
- Open Command Prompt as Administrator
- Press Start, type cmd, right-click and choose Run as administrator.
- Enter your product key:
slmgr /ipk <Your-ESU-Product-Key>- Then activate it:
slmgr /ato- Wait for the confirmation message.
Once done, your ESU license is now active.
If you manage multiple devices, use Microsoft’s Volume Activation Management Tool (VAMT) for easier activation across systems.
Step 4: Restart and Confirm ESU Activation
- Restart your PC.
- Open Command Prompt (Admin) again.
- Type:
slmgr /ato- You’ll see a popup message — if it says “The machine is permanently activated”, your ESU is successfully installed.
Step 5: Verify Windows Update
After activation, your system should start receiving Extended Security Updates automatically.
To confirm:
- Go to Settings → Update & Security → Windows Update
- Click Check for updates
If updates don’t appear:
- Ensure your Windows Update service is running (
services.msc) - Verify your internet connection
- Check your system time and date
Troubleshooting ESU Installation Errors
If you see activation errors:
- 0xC004F050 → Invalid key (check your ESU key)
- 0xC004F074 → Activation server unreachable (check internet connection)
- 0xC004C003 → Key blocked (contact your licensing admin)
Run:
sfc /scannowto repair system files if activation still fails.
Installing Windows 10 ESU ensures your device stays protected even after Microsoft ends regular support.
Once activated, you’ll continue receiving monthly security updates — no major feature changes, just essential protection.
If your organization uses multiple PCs, deploying ESU via VAMT or CSP dashboard is the most efficient approach.
Read More:
- Fix Azure Login Error AADSTS5000225: “Sorry, We’re Having Trouble Verifying Your Account”
- Fix Netflix Stuck at 540p – Play Netflix in High Resolution
- Fix: Installation Failed in the SAFE_OS Phase Error (0xC1900101)
- Fix: Intel Extension 2.1.10105.19 update keeps reinstalling
- How to Fix Windows 11 25H2 Search Not Working After Update
- Fix: Enter Old PC Name in Windows Backup During File Transfer
- Fix Windows 11 Printer Driver Unavailable Error
- Fix Windows VPN Client Never Connects in First Shot (L2TP/IPsec MFA Issue on Windows 10/11)
- How to Fix Windows 11 Update Error 0x800f0983 (KB5066835 Installation Failed)


