
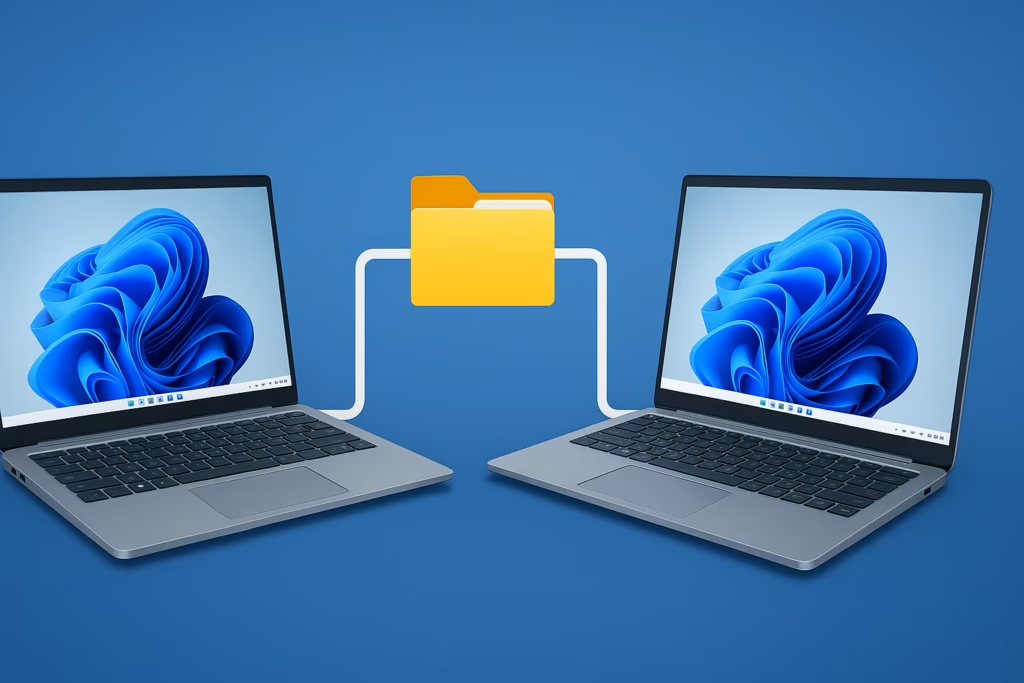
If you’ve been trying to connect two Windows 11 PCs for network file sharing but keep getting the “Enter network credentials” prompt — even after entering your Microsoft account details. This issue is common when both systems use Microsoft accounts instead of local accounts.
Here’s a complete, step-by-step fix guide to successfully connect two Windows 11 PCs for file sharing.
1. Make Sure Both PCs Are on the Same Network
Both computers must be connected to the same Wi-Fi or Ethernet network.
To verify:
- Open Settings → Network & Internet → Status on both PCs.
- Confirm both show the same network name (SSID).
- If you’re using Ethernet, ensure they’re connected to the same router or switch.
2. Turn On Network Discovery and File Sharing
To allow other PCs to detect and connect to your system:
- Open Control Panel → Network and Sharing Center.
- Click Change advanced sharing settings.
- Under Private (current profile):
- Turn on Network Discovery
- Turn on File and Printer Sharing
- Under All Networks:
- Turn off Password Protected Sharing (you can re-enable it later for security)
- Turn on Public Folder Sharing if you want quick, open sharing.
Turning off password protection is useful during setup. Once it’s working, you can re-enable it and set a proper access account.
3. Check Required Windows Services
If your PCs still don’t appear under the Network section in File Explorer, a few background services may be disabled.
Do this on both PCs:
- Press
Win + R, typeservices.msc, and press Enter. - Find and ensure these services are Running and set to Automatic:
- Function Discovery Provider Host
- Function Discovery Resource Publication
- SSDP Discovery
- UPnP Device Host
Restart both PCs after applying.
4. Share a Folder Manually
Once both PCs are discoverable, share a specific folder to test.
- Right-click the folder → Properties → Sharing → Advanced Sharing.
- Tick Share this folder.
- Click Permissions → Add → Everyone → Allow Full Control (for testing).
- Apply and close.
For quick testing, share the built-in folder:
C:\Users\Public
5. Use Correct Login Credentials When Prompted
This is the step that confuses most users.
When File Explorer asks for Network Credentials, use one of these:
Option A — If using Microsoft Account:
Username: MicrosoftAccount\[email protected]
Password: (your Microsoft account password)
Note: Do NOT use your PIN — use your Microsoft account password.
Option B — If using Local Account:
If you’ve created a local user, connect like this:
Username: PCNAME\LocalUser
Password: (LocalUser password)
Option C — Both PCs using the same Microsoft Account
This can still fail sometimes.
If it does:
- Create a local user (e.g., “ShareUser”) on one PC:
- Go to Settings → Accounts → Family & other users → Add account → Add without Microsoft account.
- Give it a password and share folders for that user.
- Use that local username and password when connecting from the other PC.
6. Map the Shared Folder (Optional but Recommended)
To avoid entering credentials every time:
- In File Explorer, right-click This PC → Map network drive.
- Choose a drive letter and enter the shared folder path, e.g.:
\\DESKTOP123\SharedFolder - Check Reconnect at sign-in and Connect using different credentials.
- Enter the username and password from the previous step.
7. Allow File Sharing Through Windows Firewall
If you still can’t connect:
- Open Control Panel → Windows Defender Firewall → Allow an app or feature through Windows Defender Firewall.
- Make sure both File and Printer Sharing and Network Discovery are checked for Private networks.
- Apply and restart both PCs.
8. Test Access Using IP Address
If your PC name isn’t resolving, connect directly using its IP address:
- On the target PC, open Command Prompt → type:
ipconfigand note the IPv4 Address (example: 192.168.1.12). - On the other PC, open File Explorer → address bar:
\\192.168.1.12 - Press Enter — your shared folders should appear.
9. Secure Your Connection After Setup
Once everything works:
- Re-enable Password Protected Sharing for security.
- Remove the Everyone group and only allow specific users.
- Keep your Windows updated to maintain SMB security patches.
Tip: Use Public Folder for Hassle-Free Sharing
Windows’ built-in C:\Users\Public folder is designed for quick LAN transfers.
Drop your files there, and they’ll be instantly visible to other PCs on your home network.

